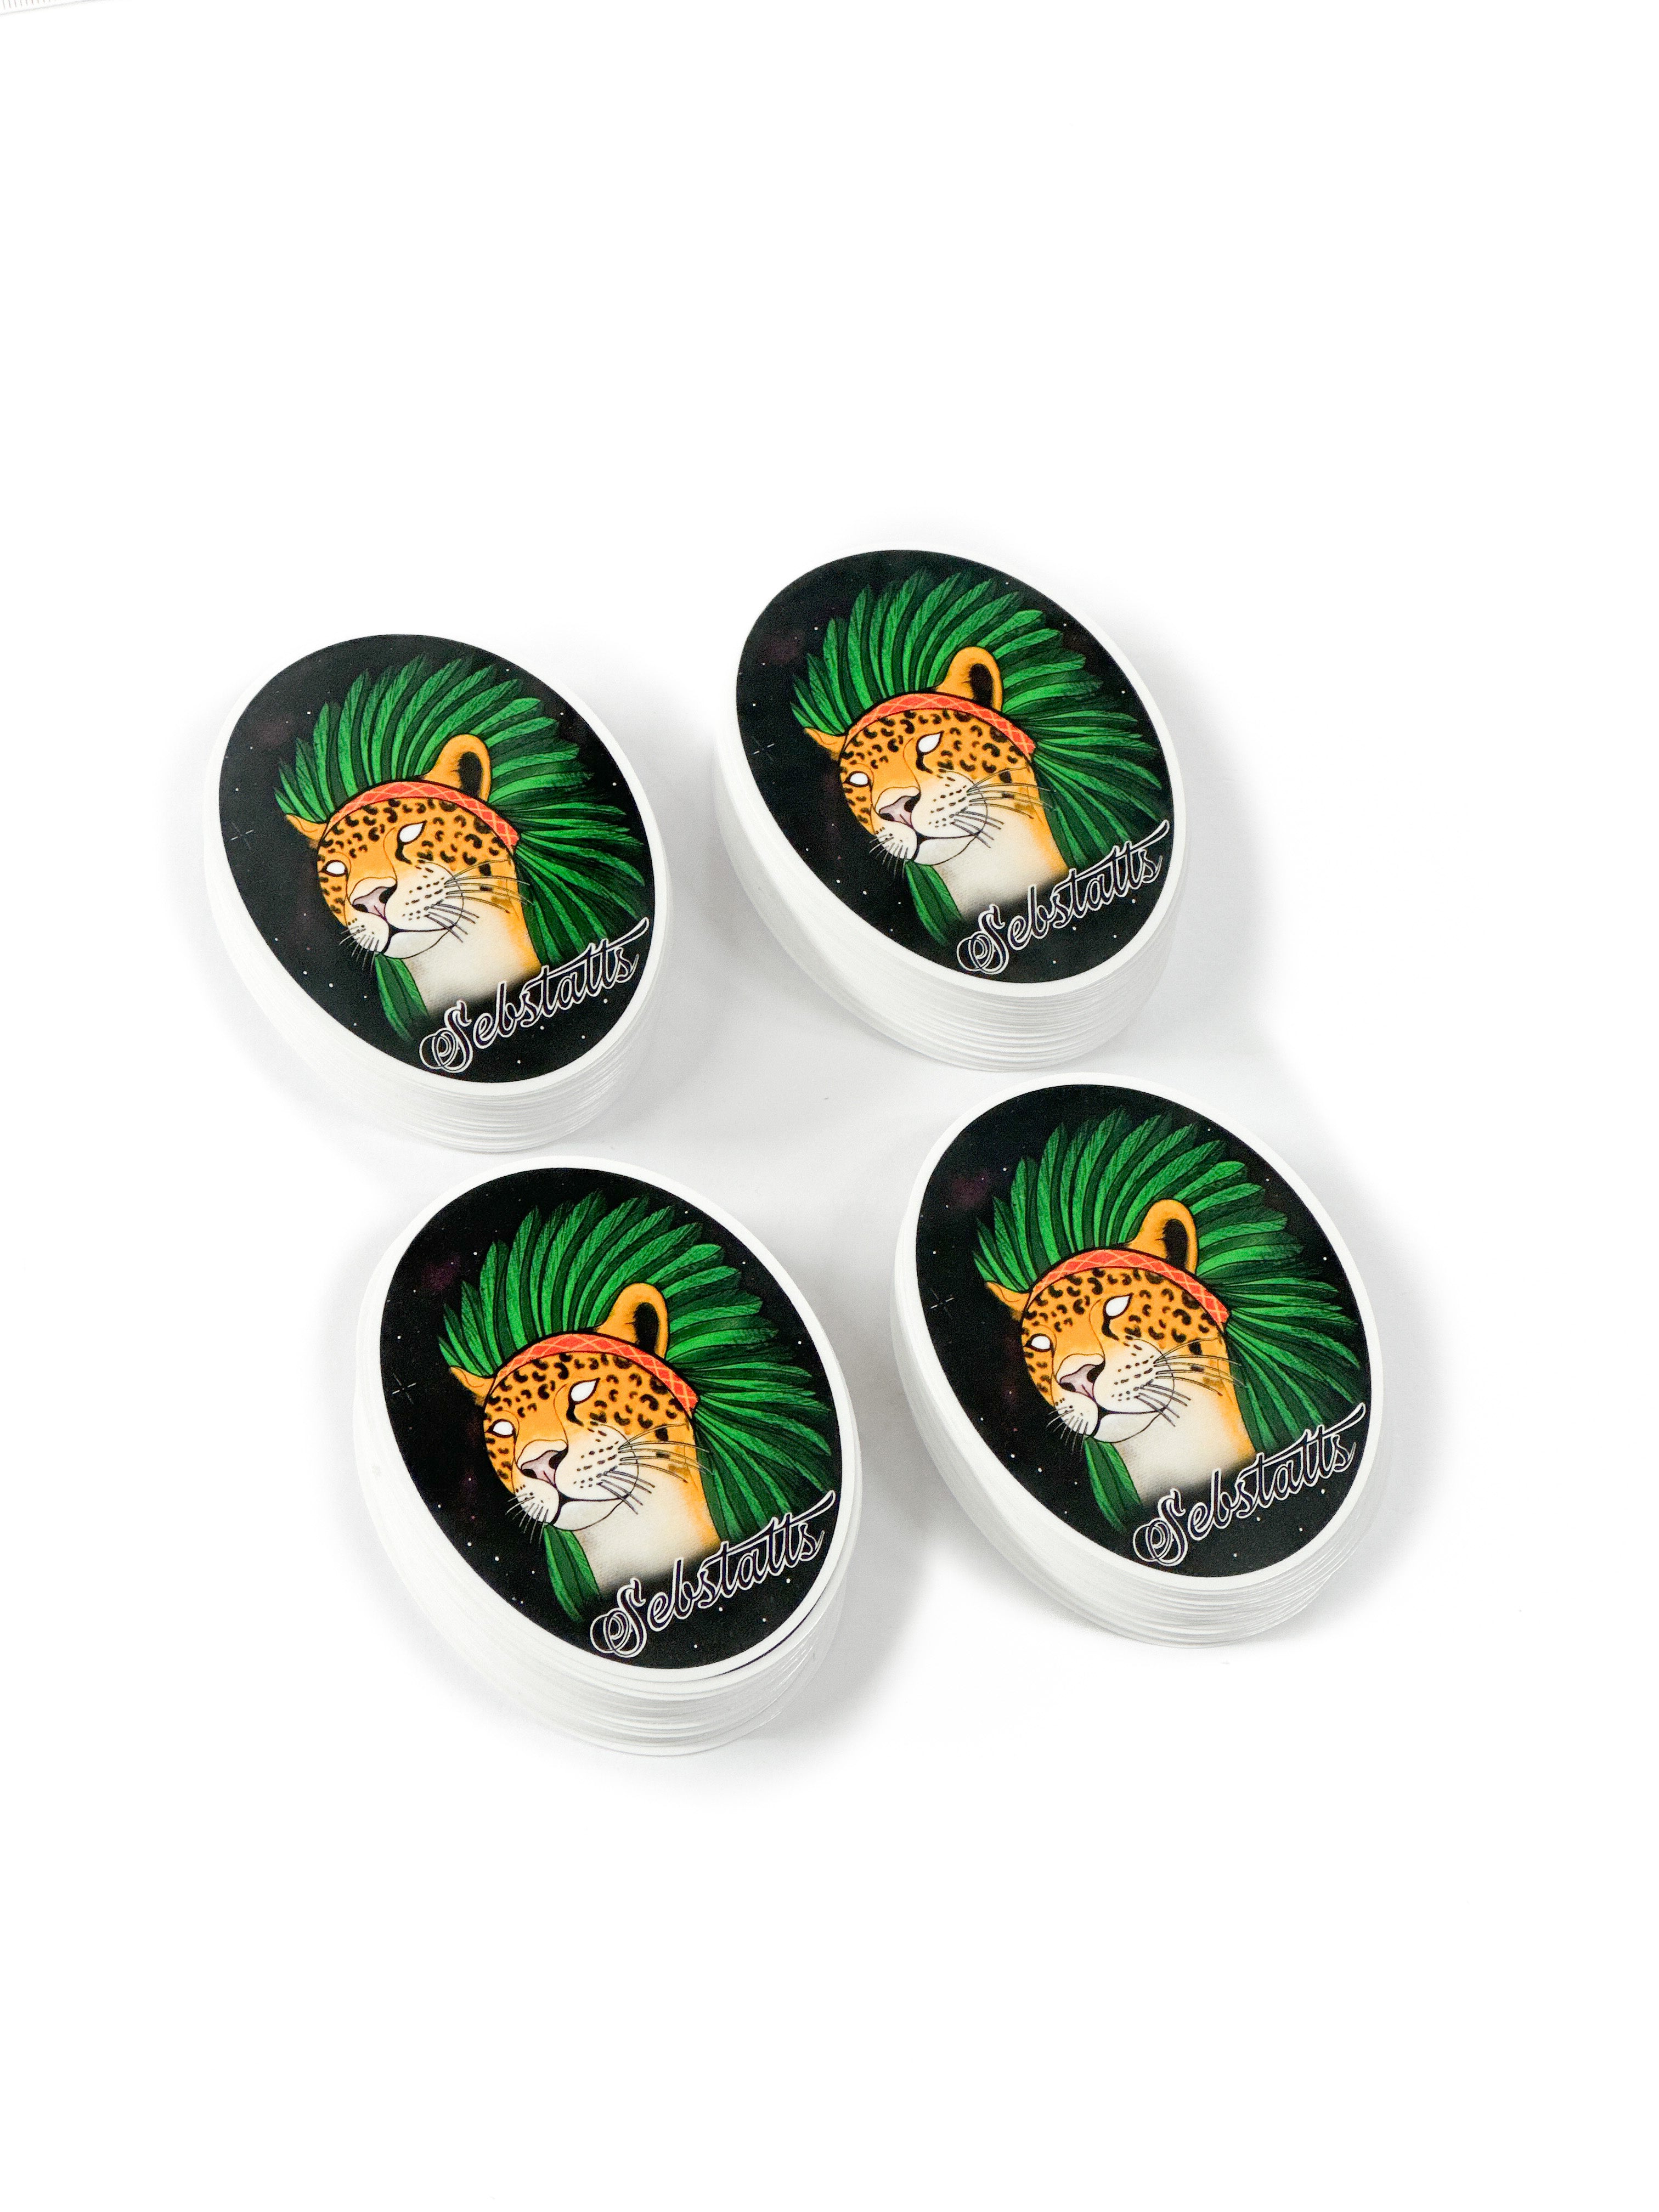
When preparing custom sticker artwork, there are three important setup areas to understand: bleed, cutline, and safe area. These help make sure your stickers can be printed and cut cleanly.
Here is a simple breakdown of what each one means and how to set up your artwork for the best result.
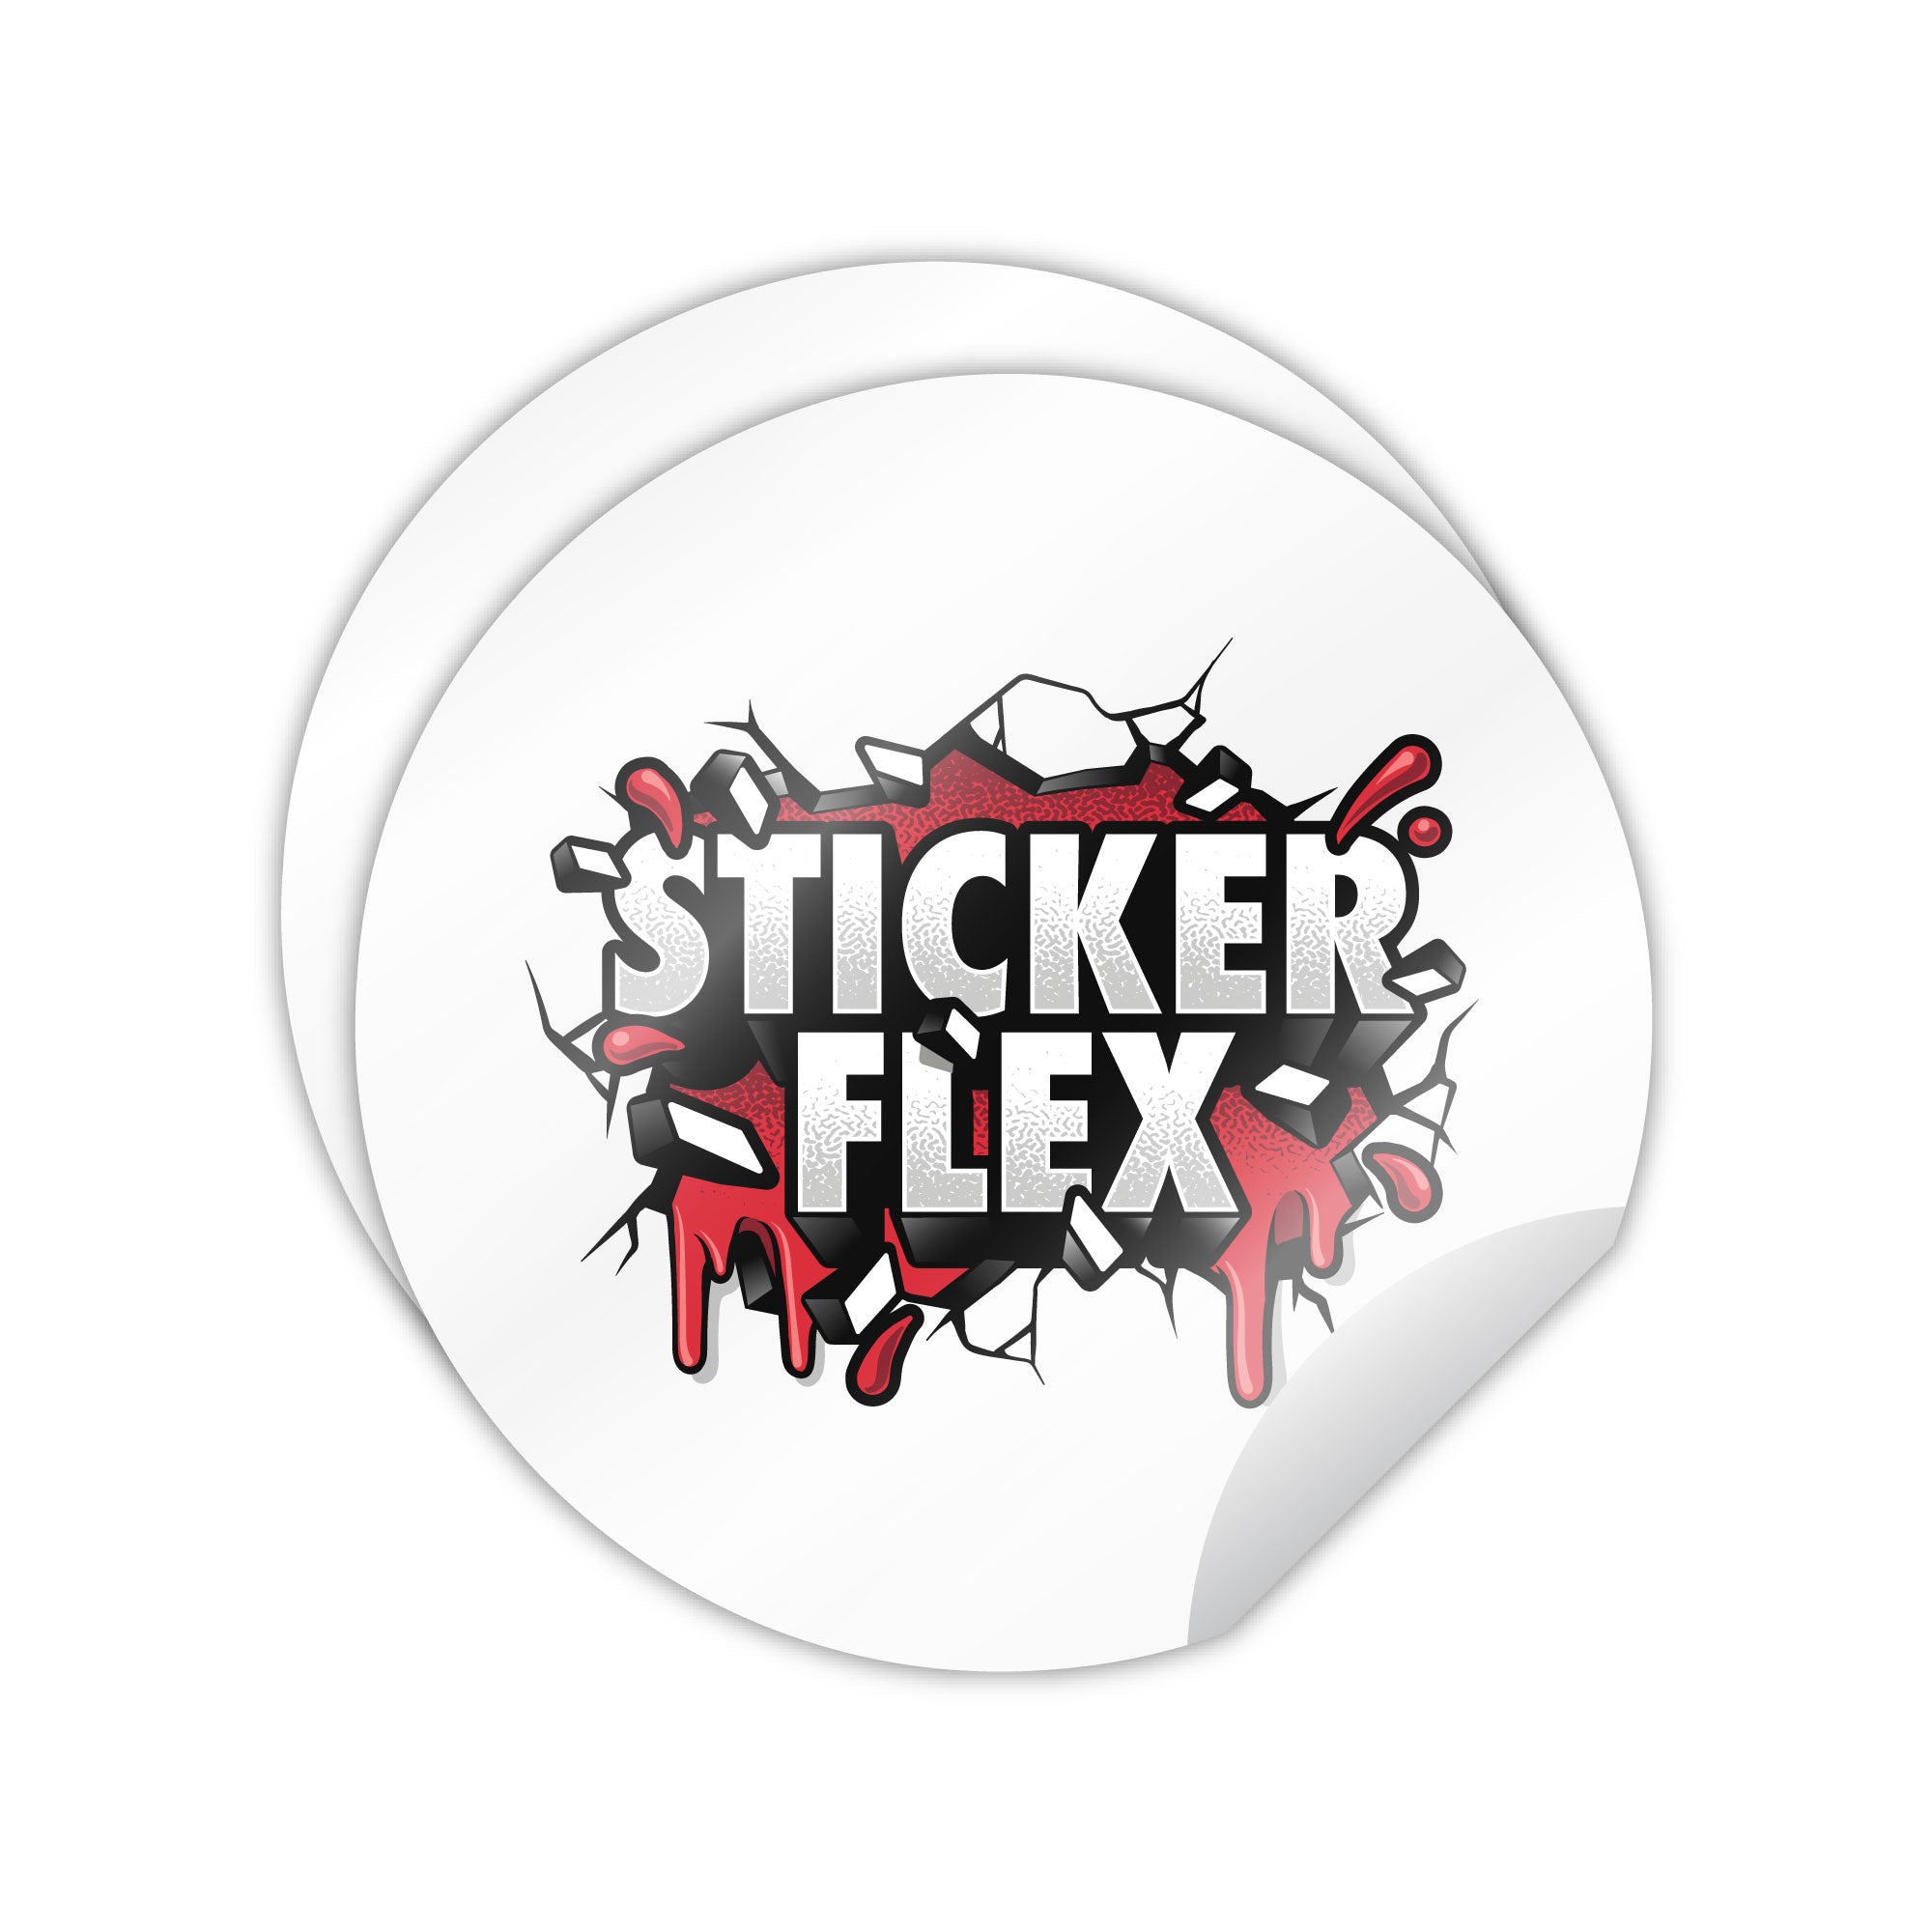
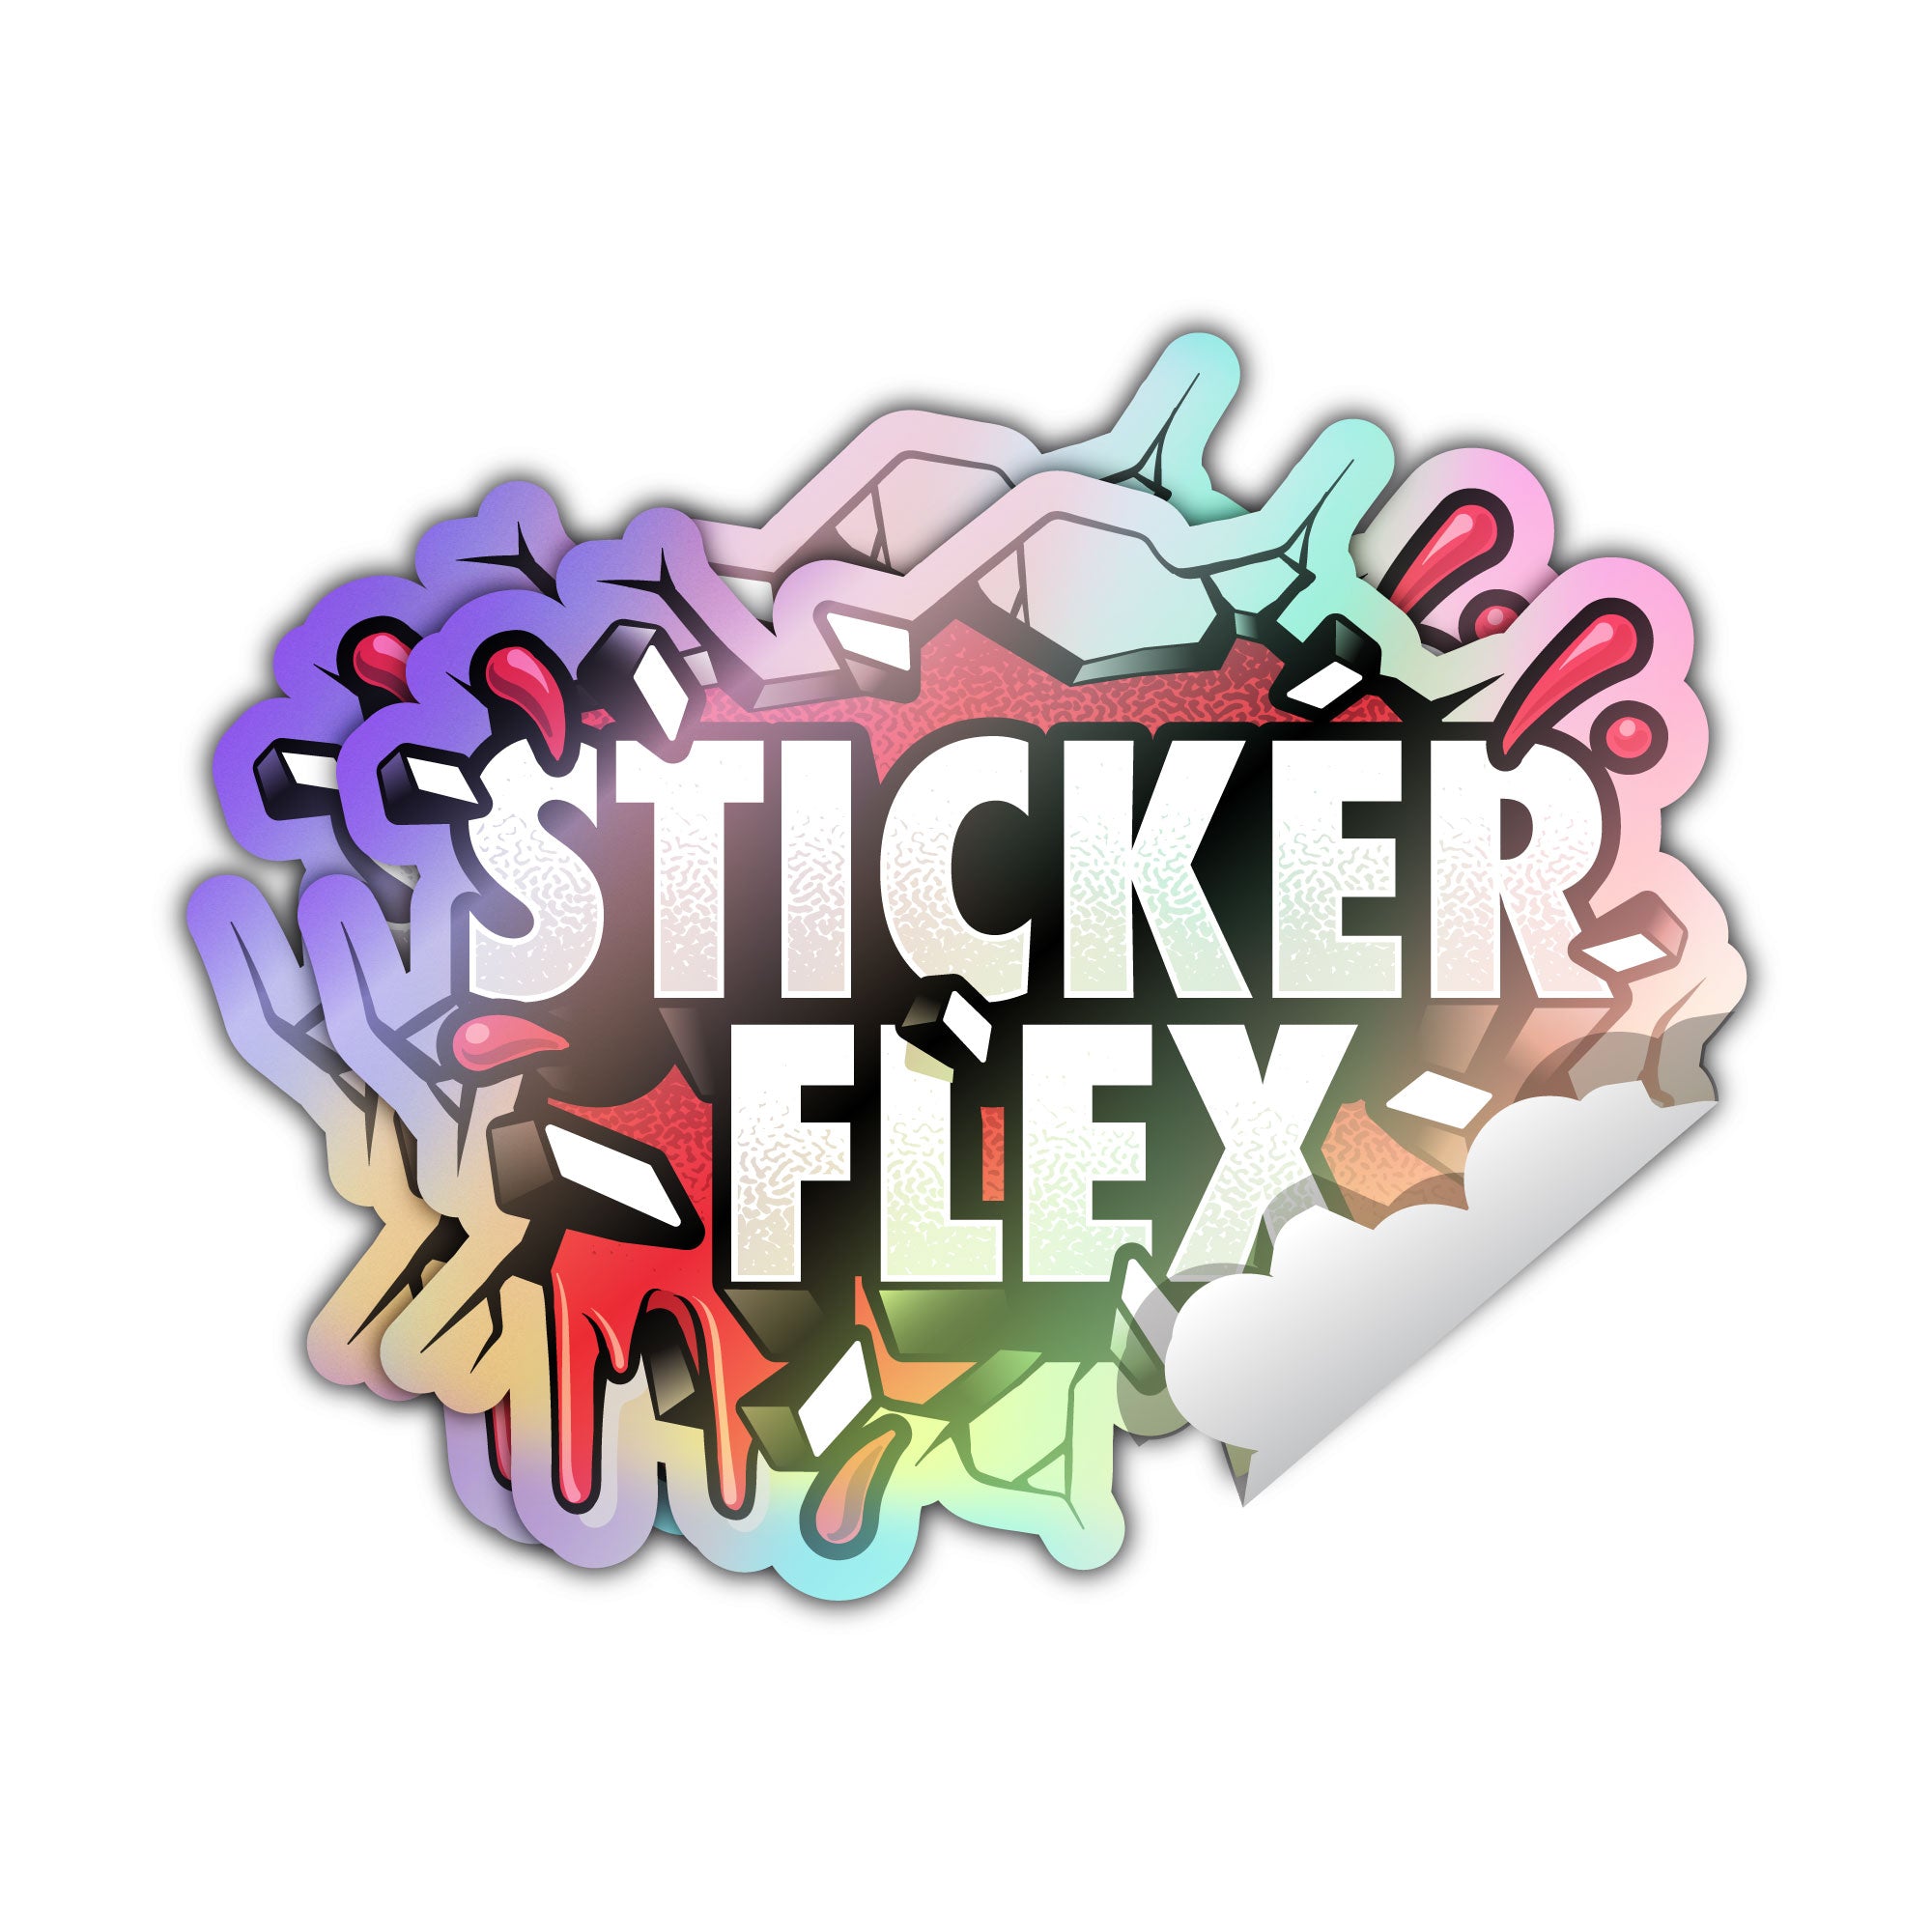
What is bleed?
Bleed is the extra artwork that extends beyond the cutline. It gives us room for small movement during printing and cutting, so the final sticker does not end up with an unwanted edge or gap.
If your artwork or background is meant to reach the edge of the sticker, extend it 3-4 mm beyond the cutline.
What is the cutline?
The cutline is the path that shows where the sticker should be cut. For die cut stickers, this usually follows the outside shape of your design.
If you are supplying your own cutline, please make it a vector path on a separate clearly labelled layer, such as Cut Line or Cutline. This helps us identify it quickly and avoid confusing it with printed artwork.
What is the safe area?
The safe area is the space inside the cutline where important artwork should sit. Keep text, logos, faces, borders, and other key details at least 3 mm inside the cutline.
This does not mean your design needs a visible border. It simply means important details should not sit too close to the cut edge.
Quick setup checklist
- Use high resolution artwork, ideally at least 300 DPI at the final print size.
- Put any supplied cutline on a separate clearly labelled layer.
- Make the cutline a vector path.
- Extend background artwork 3-4 mm beyond the cutline for bleed.
- Keep important details at least 3 mm inside the cutline.
Need help?
If you are unsure about the cutline or bleed setup, you can still upload your artwork when ordering. We will prepare the file for production and send a digital proof before printing.


Share:
Why we need high resolution image file for printing
Exporting the correct size for sticker printing in Procreate