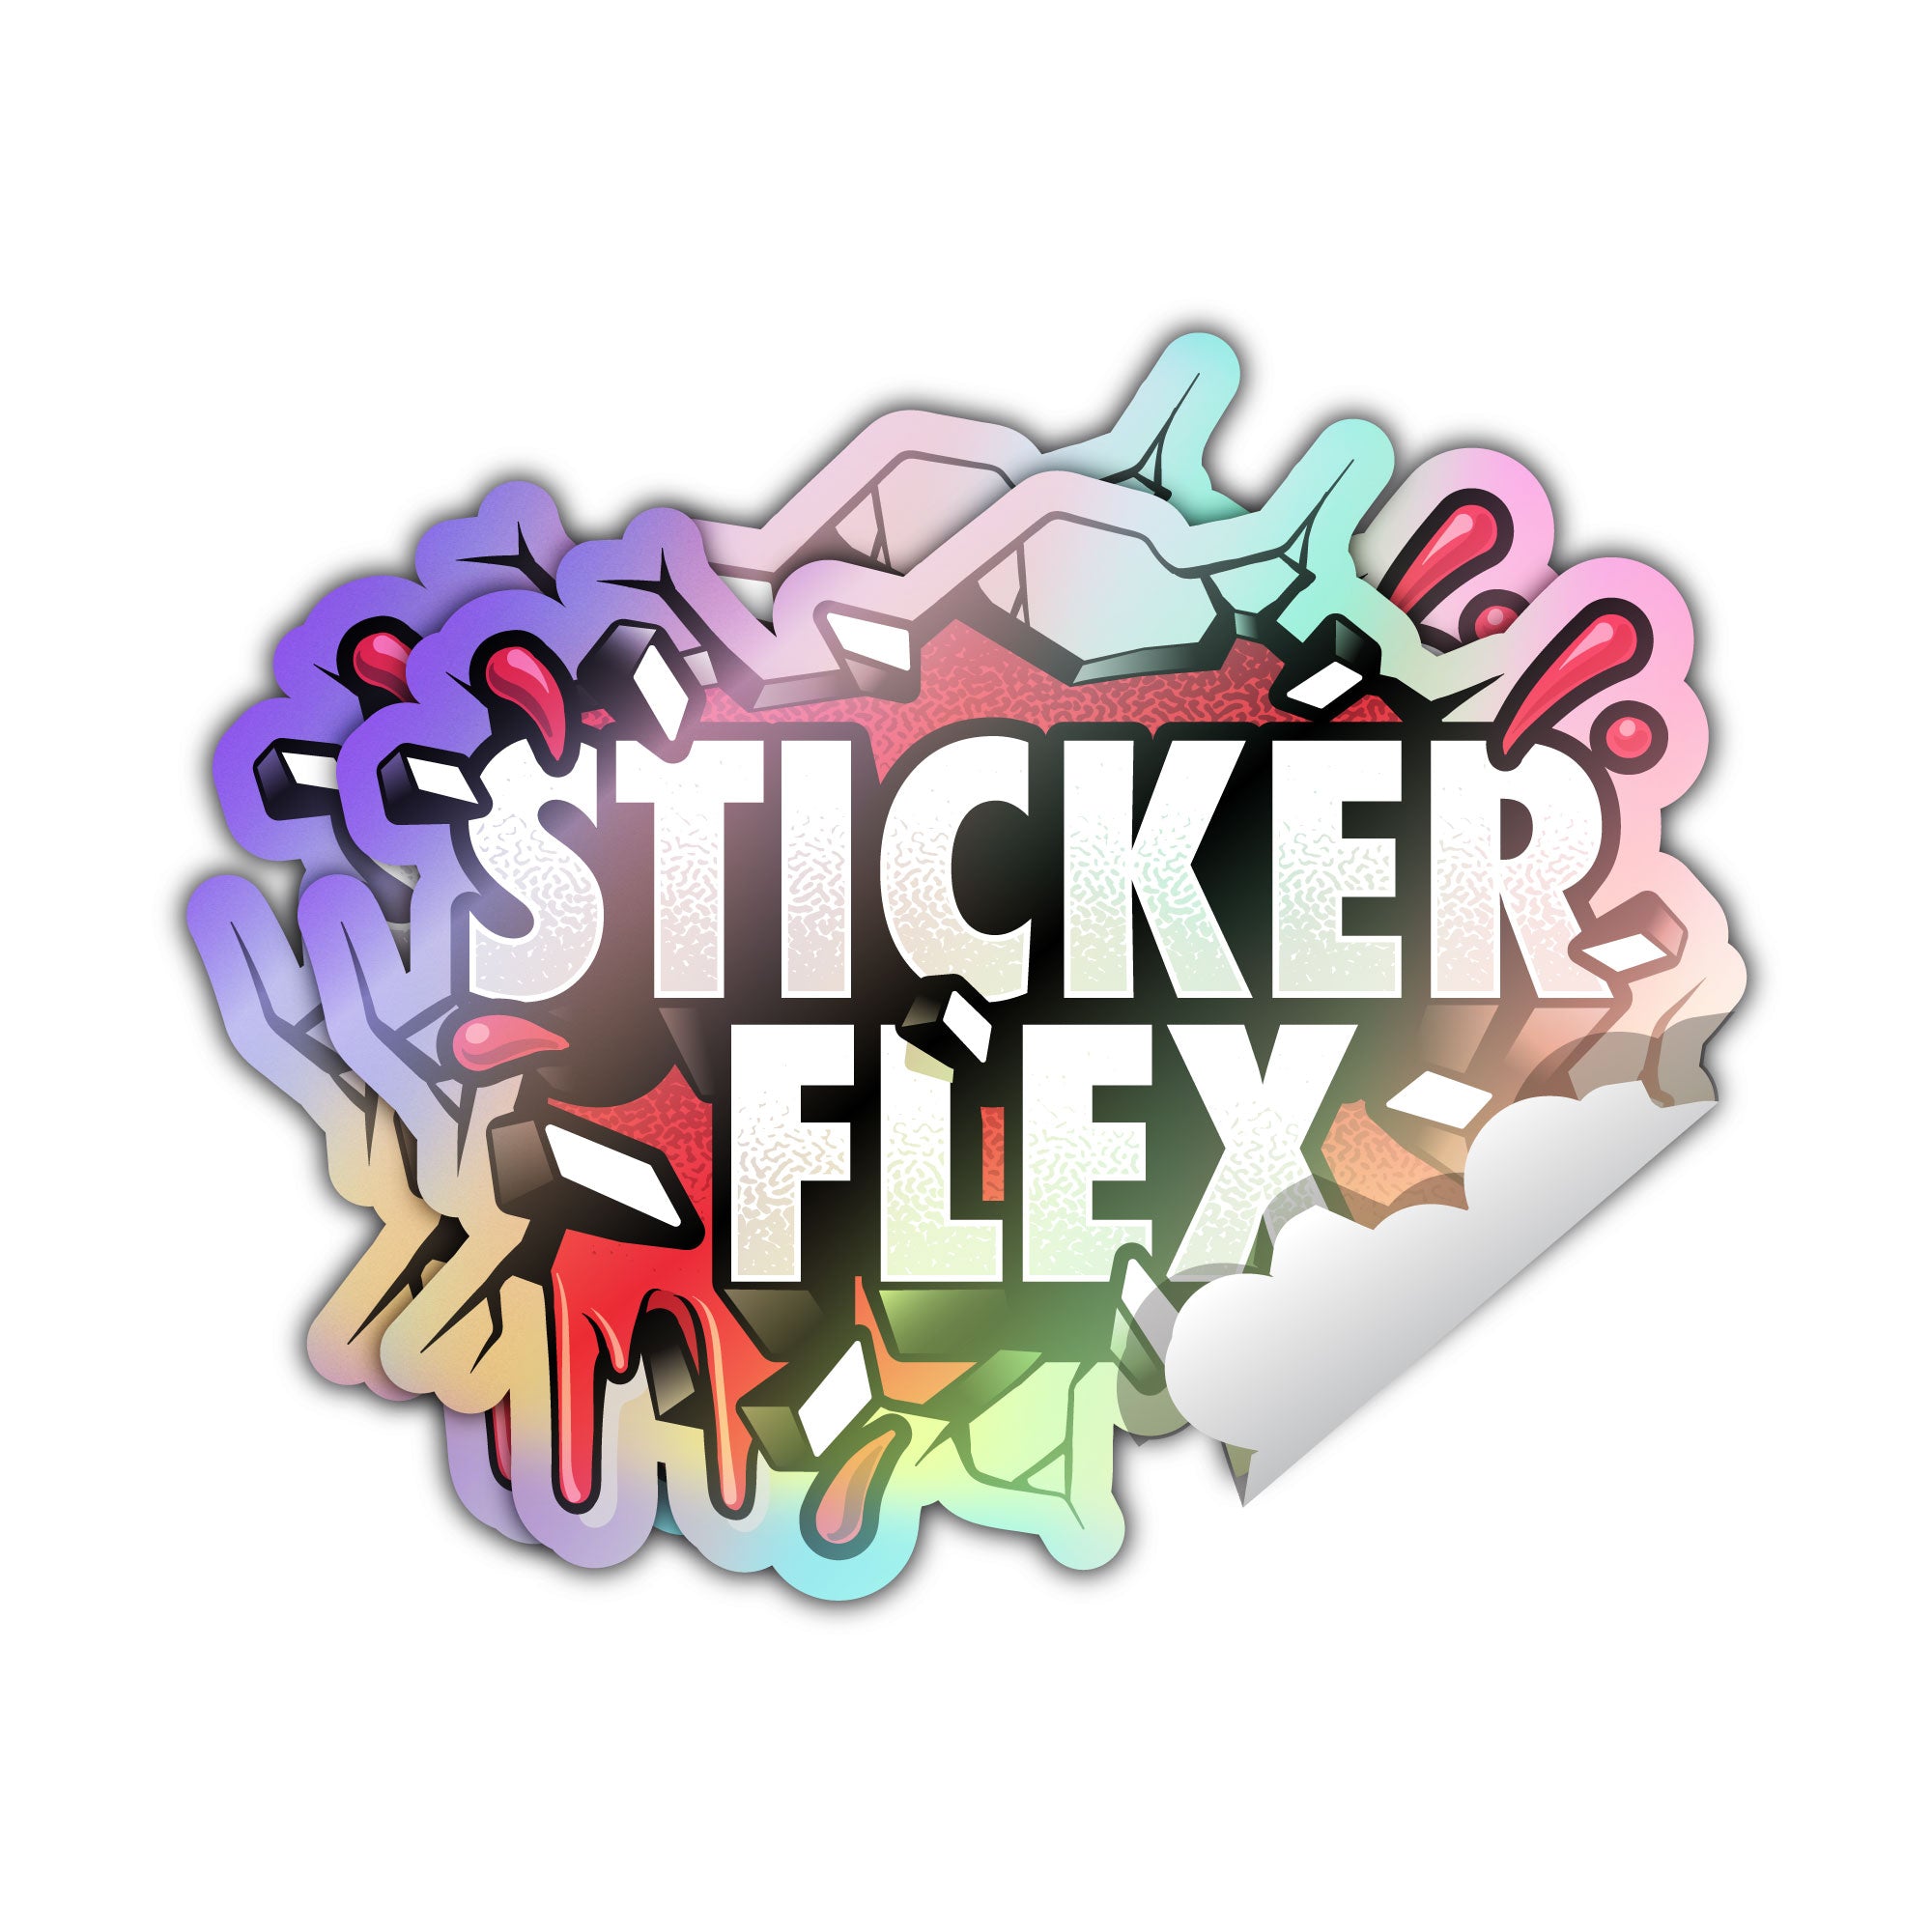
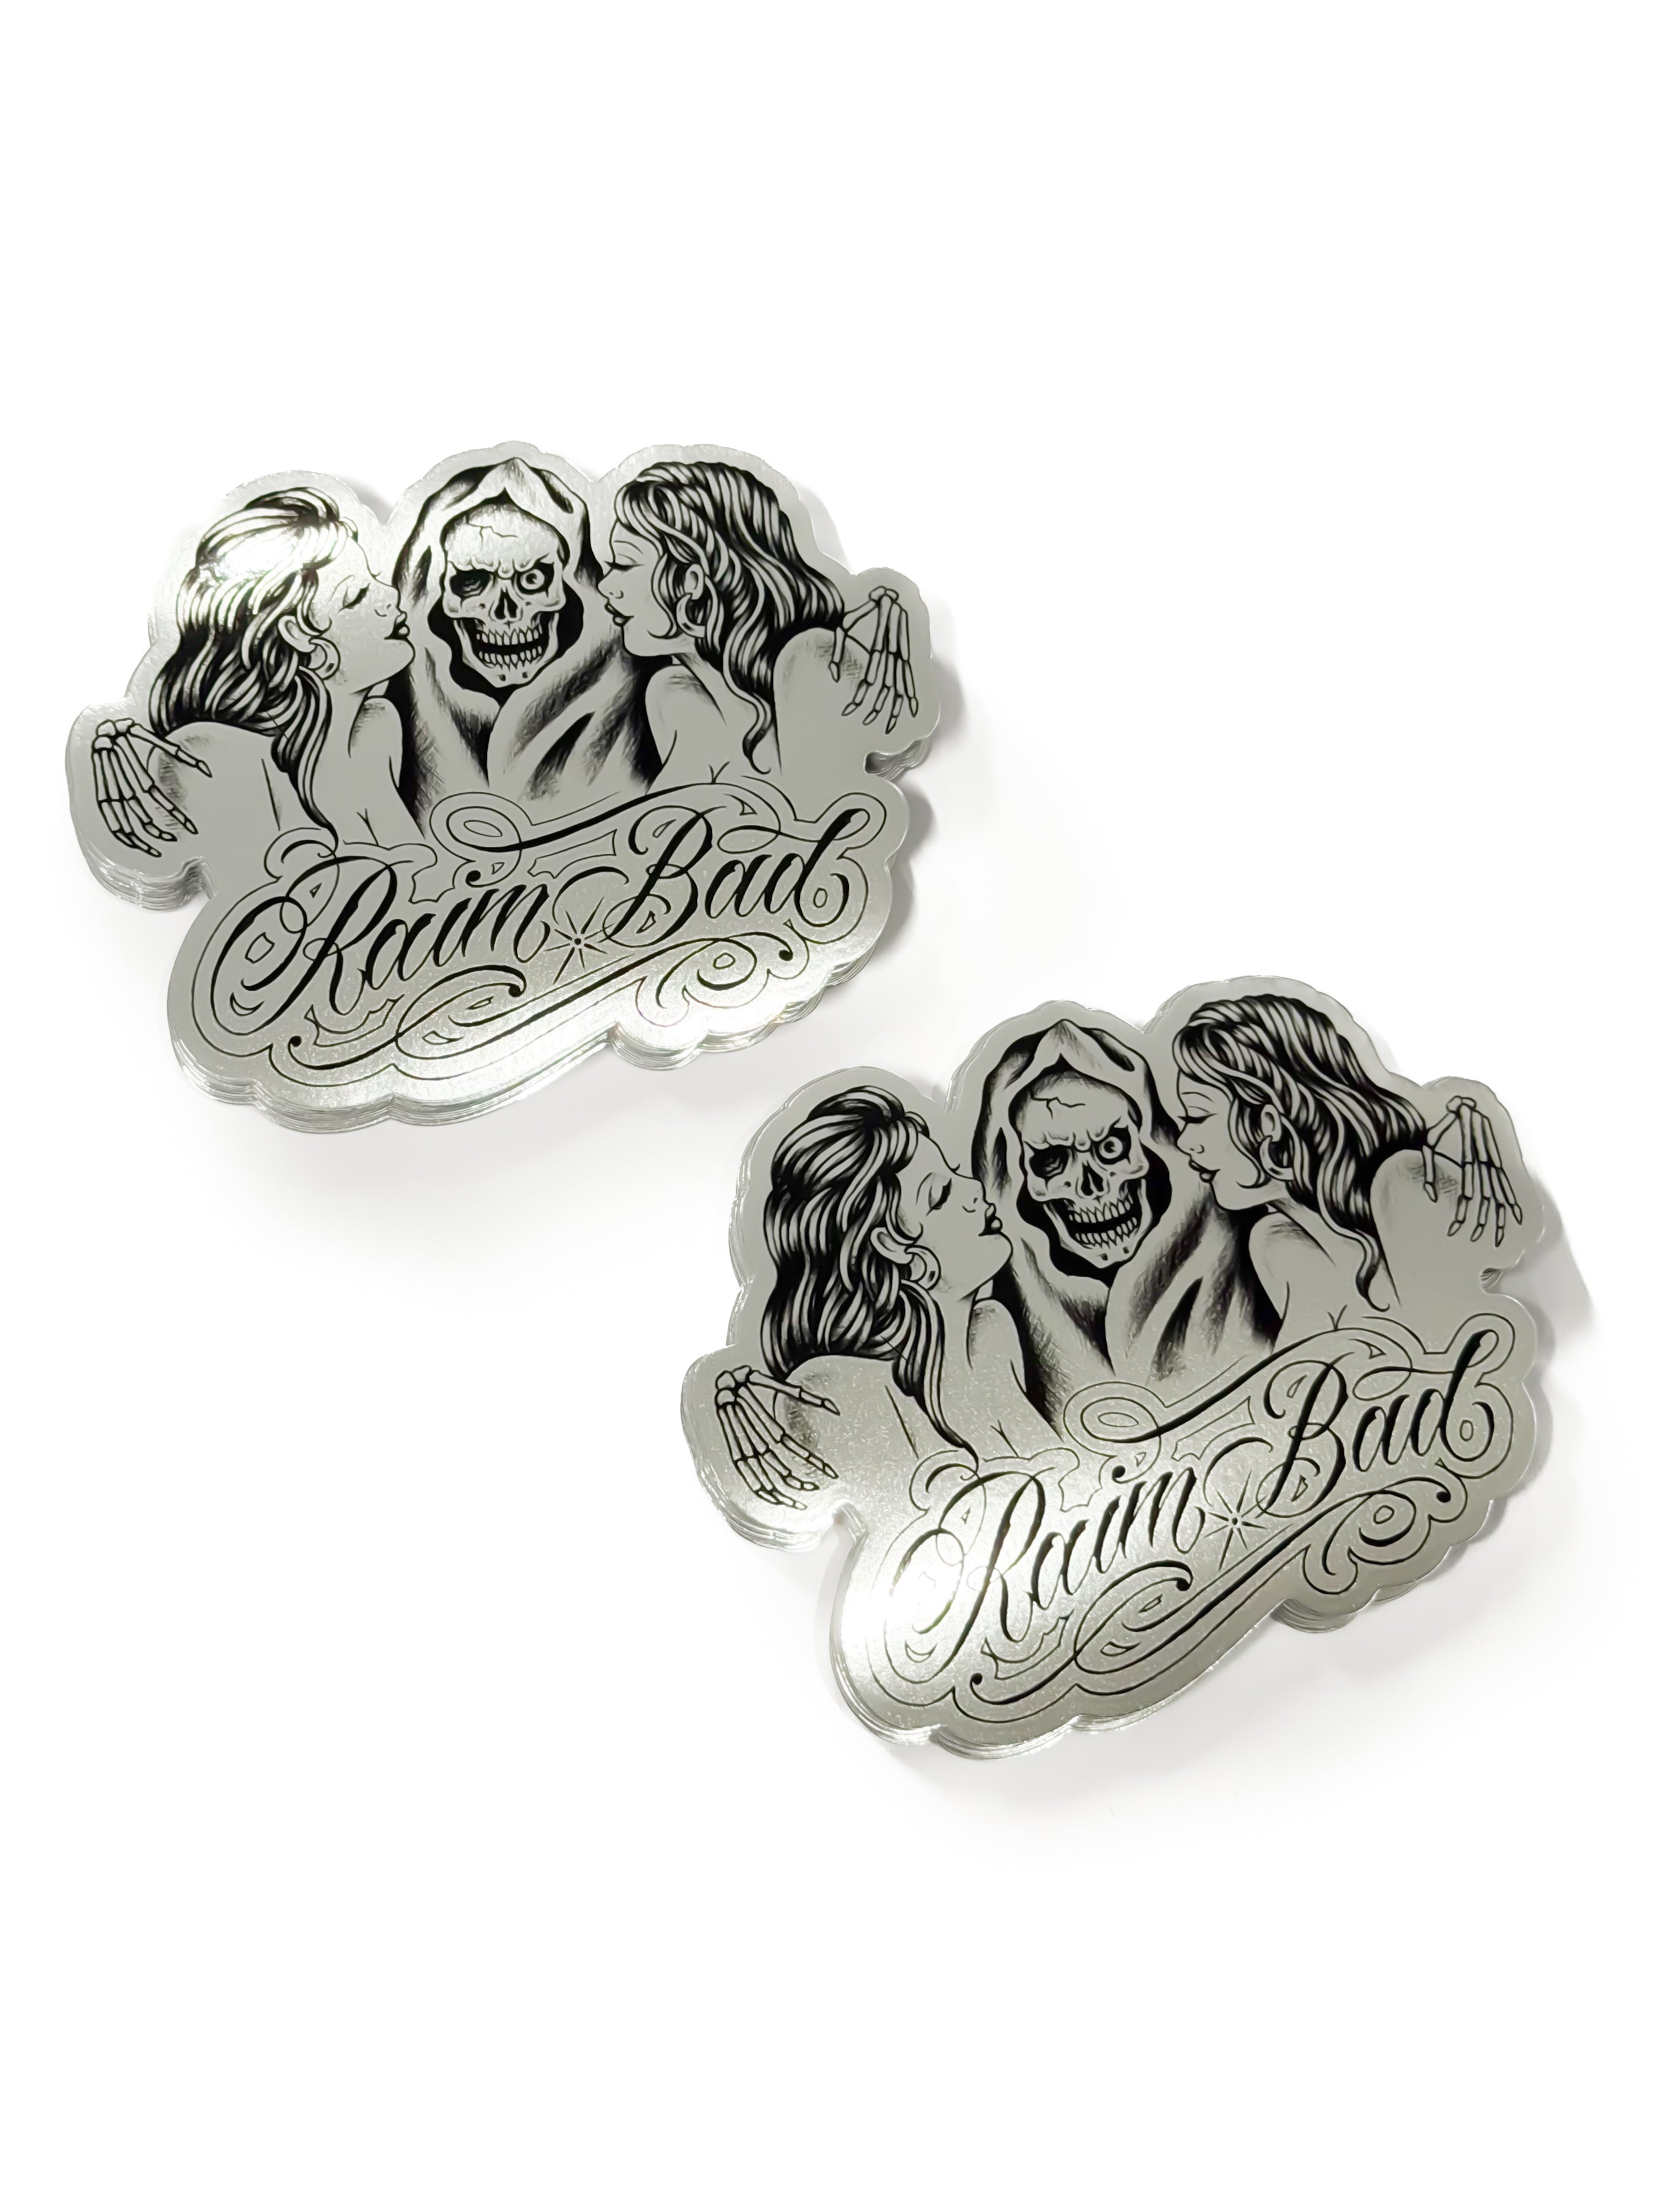
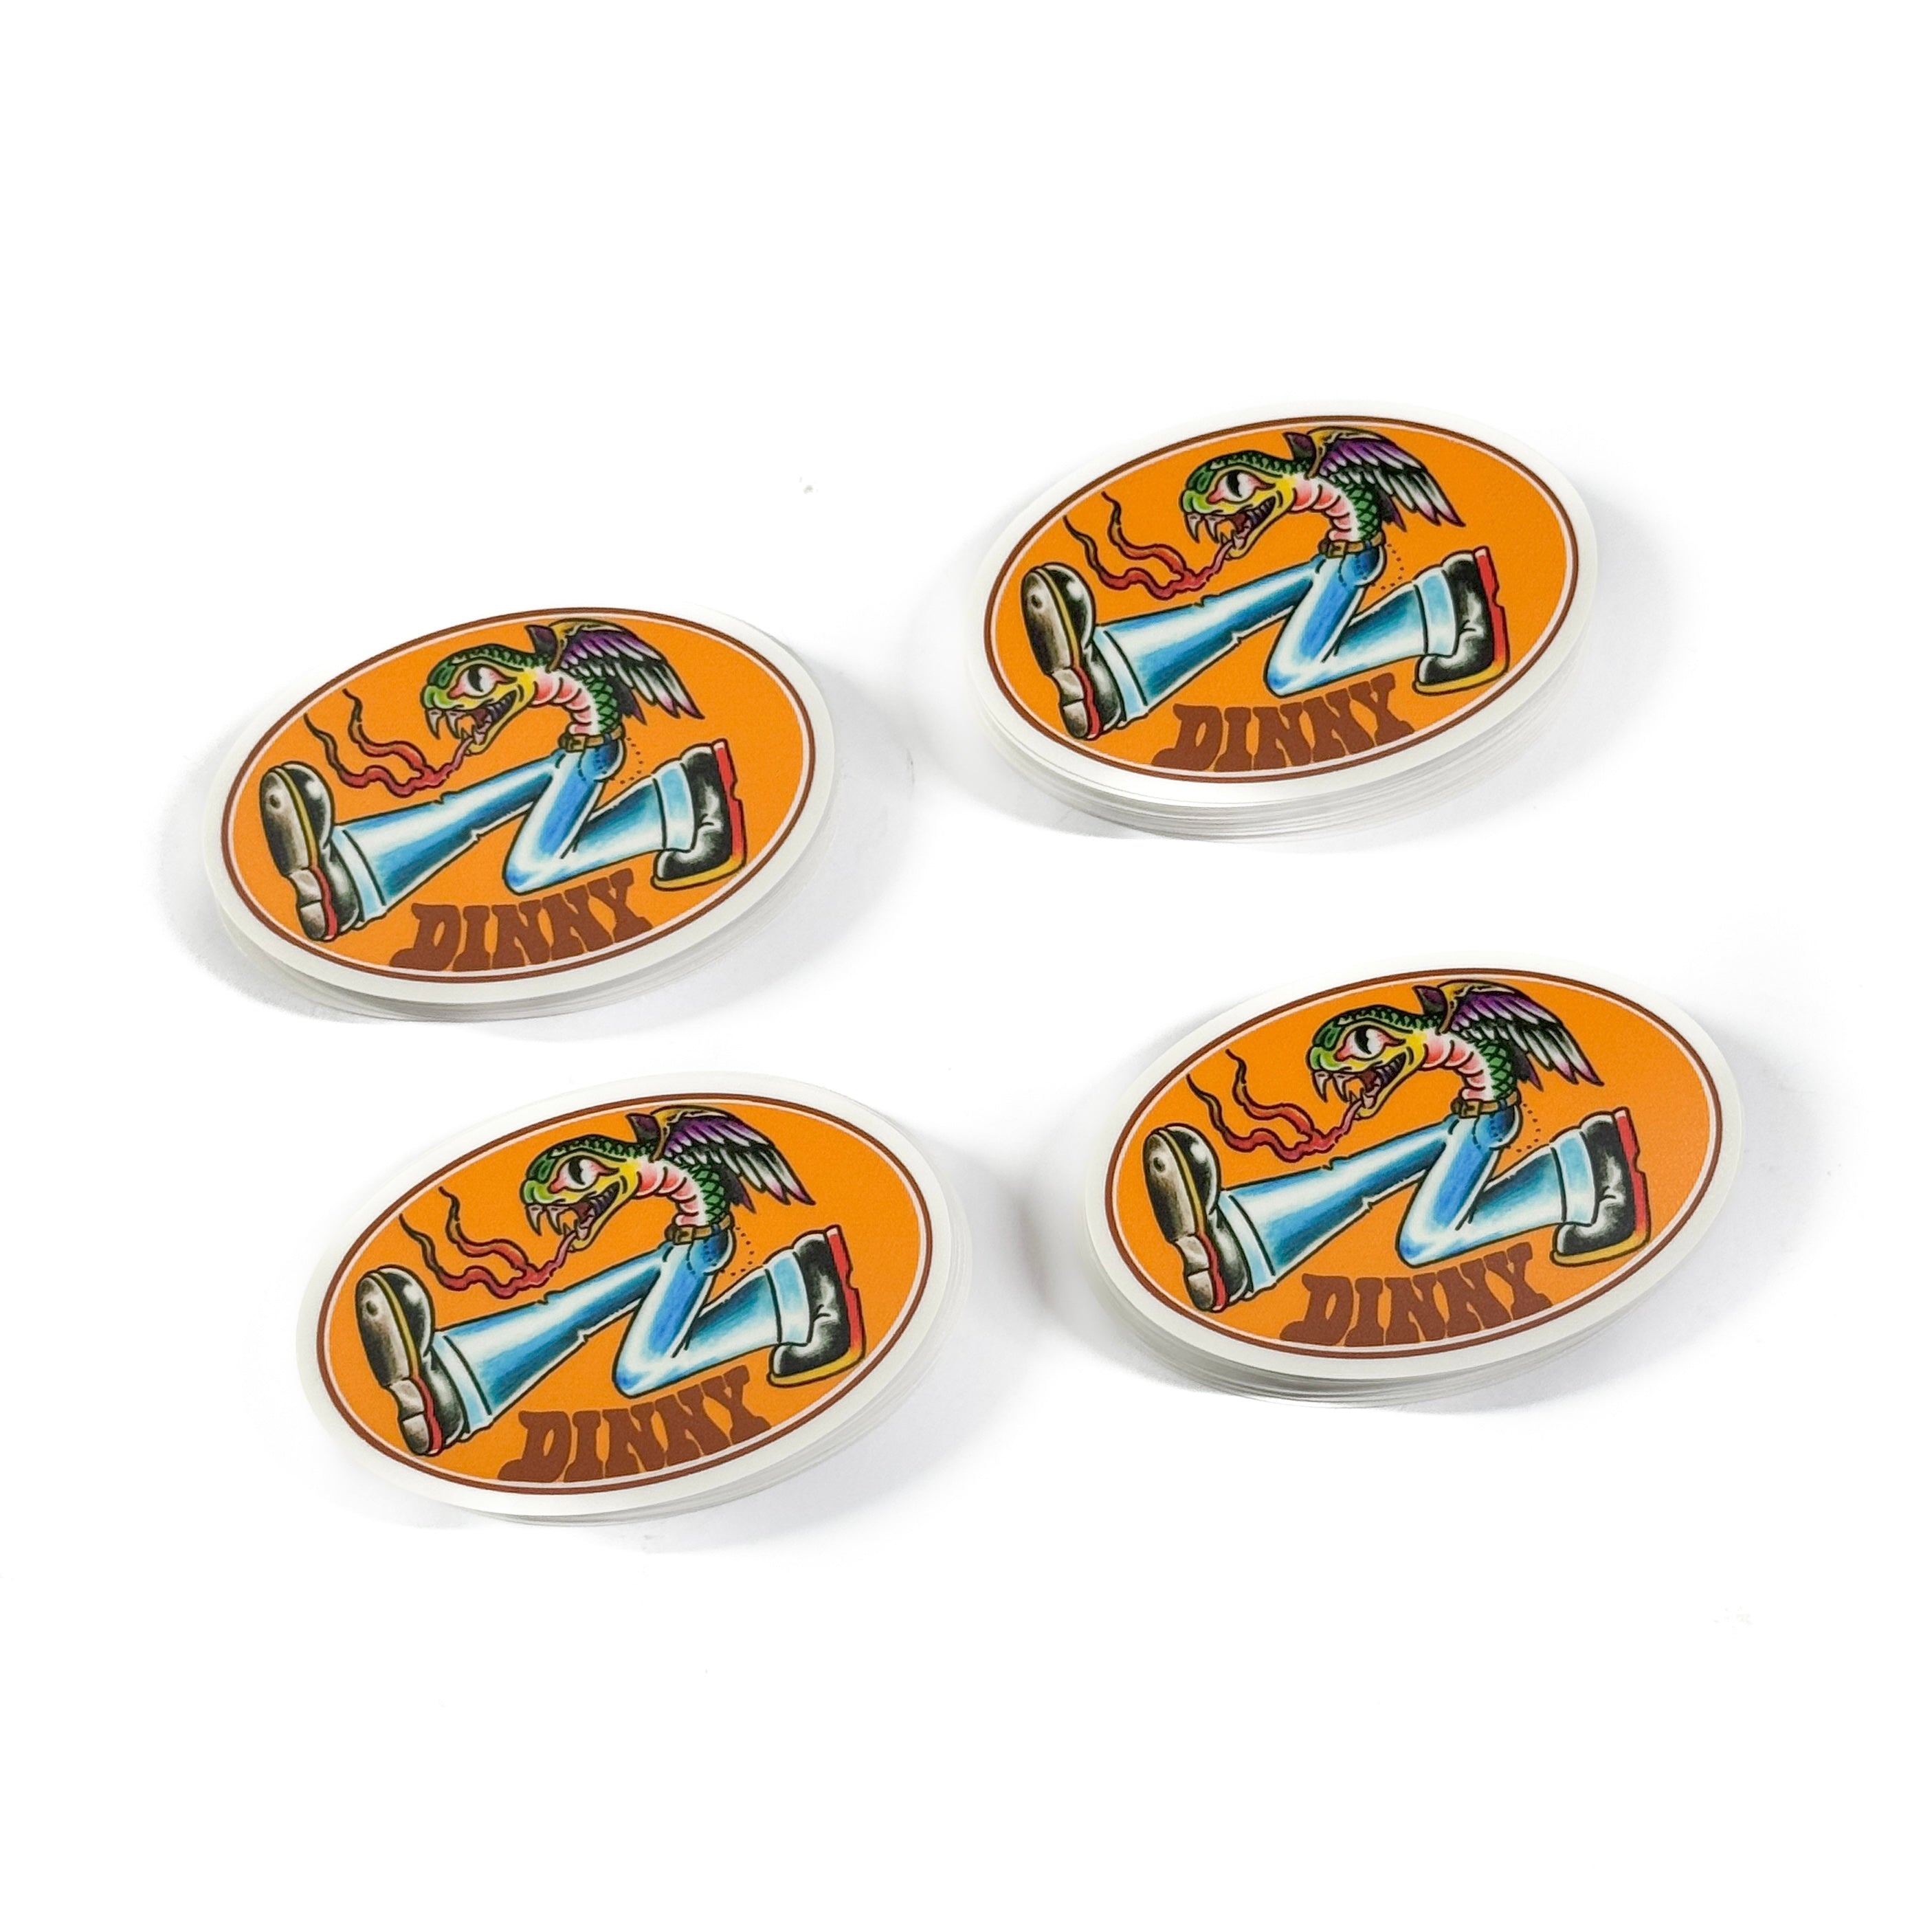
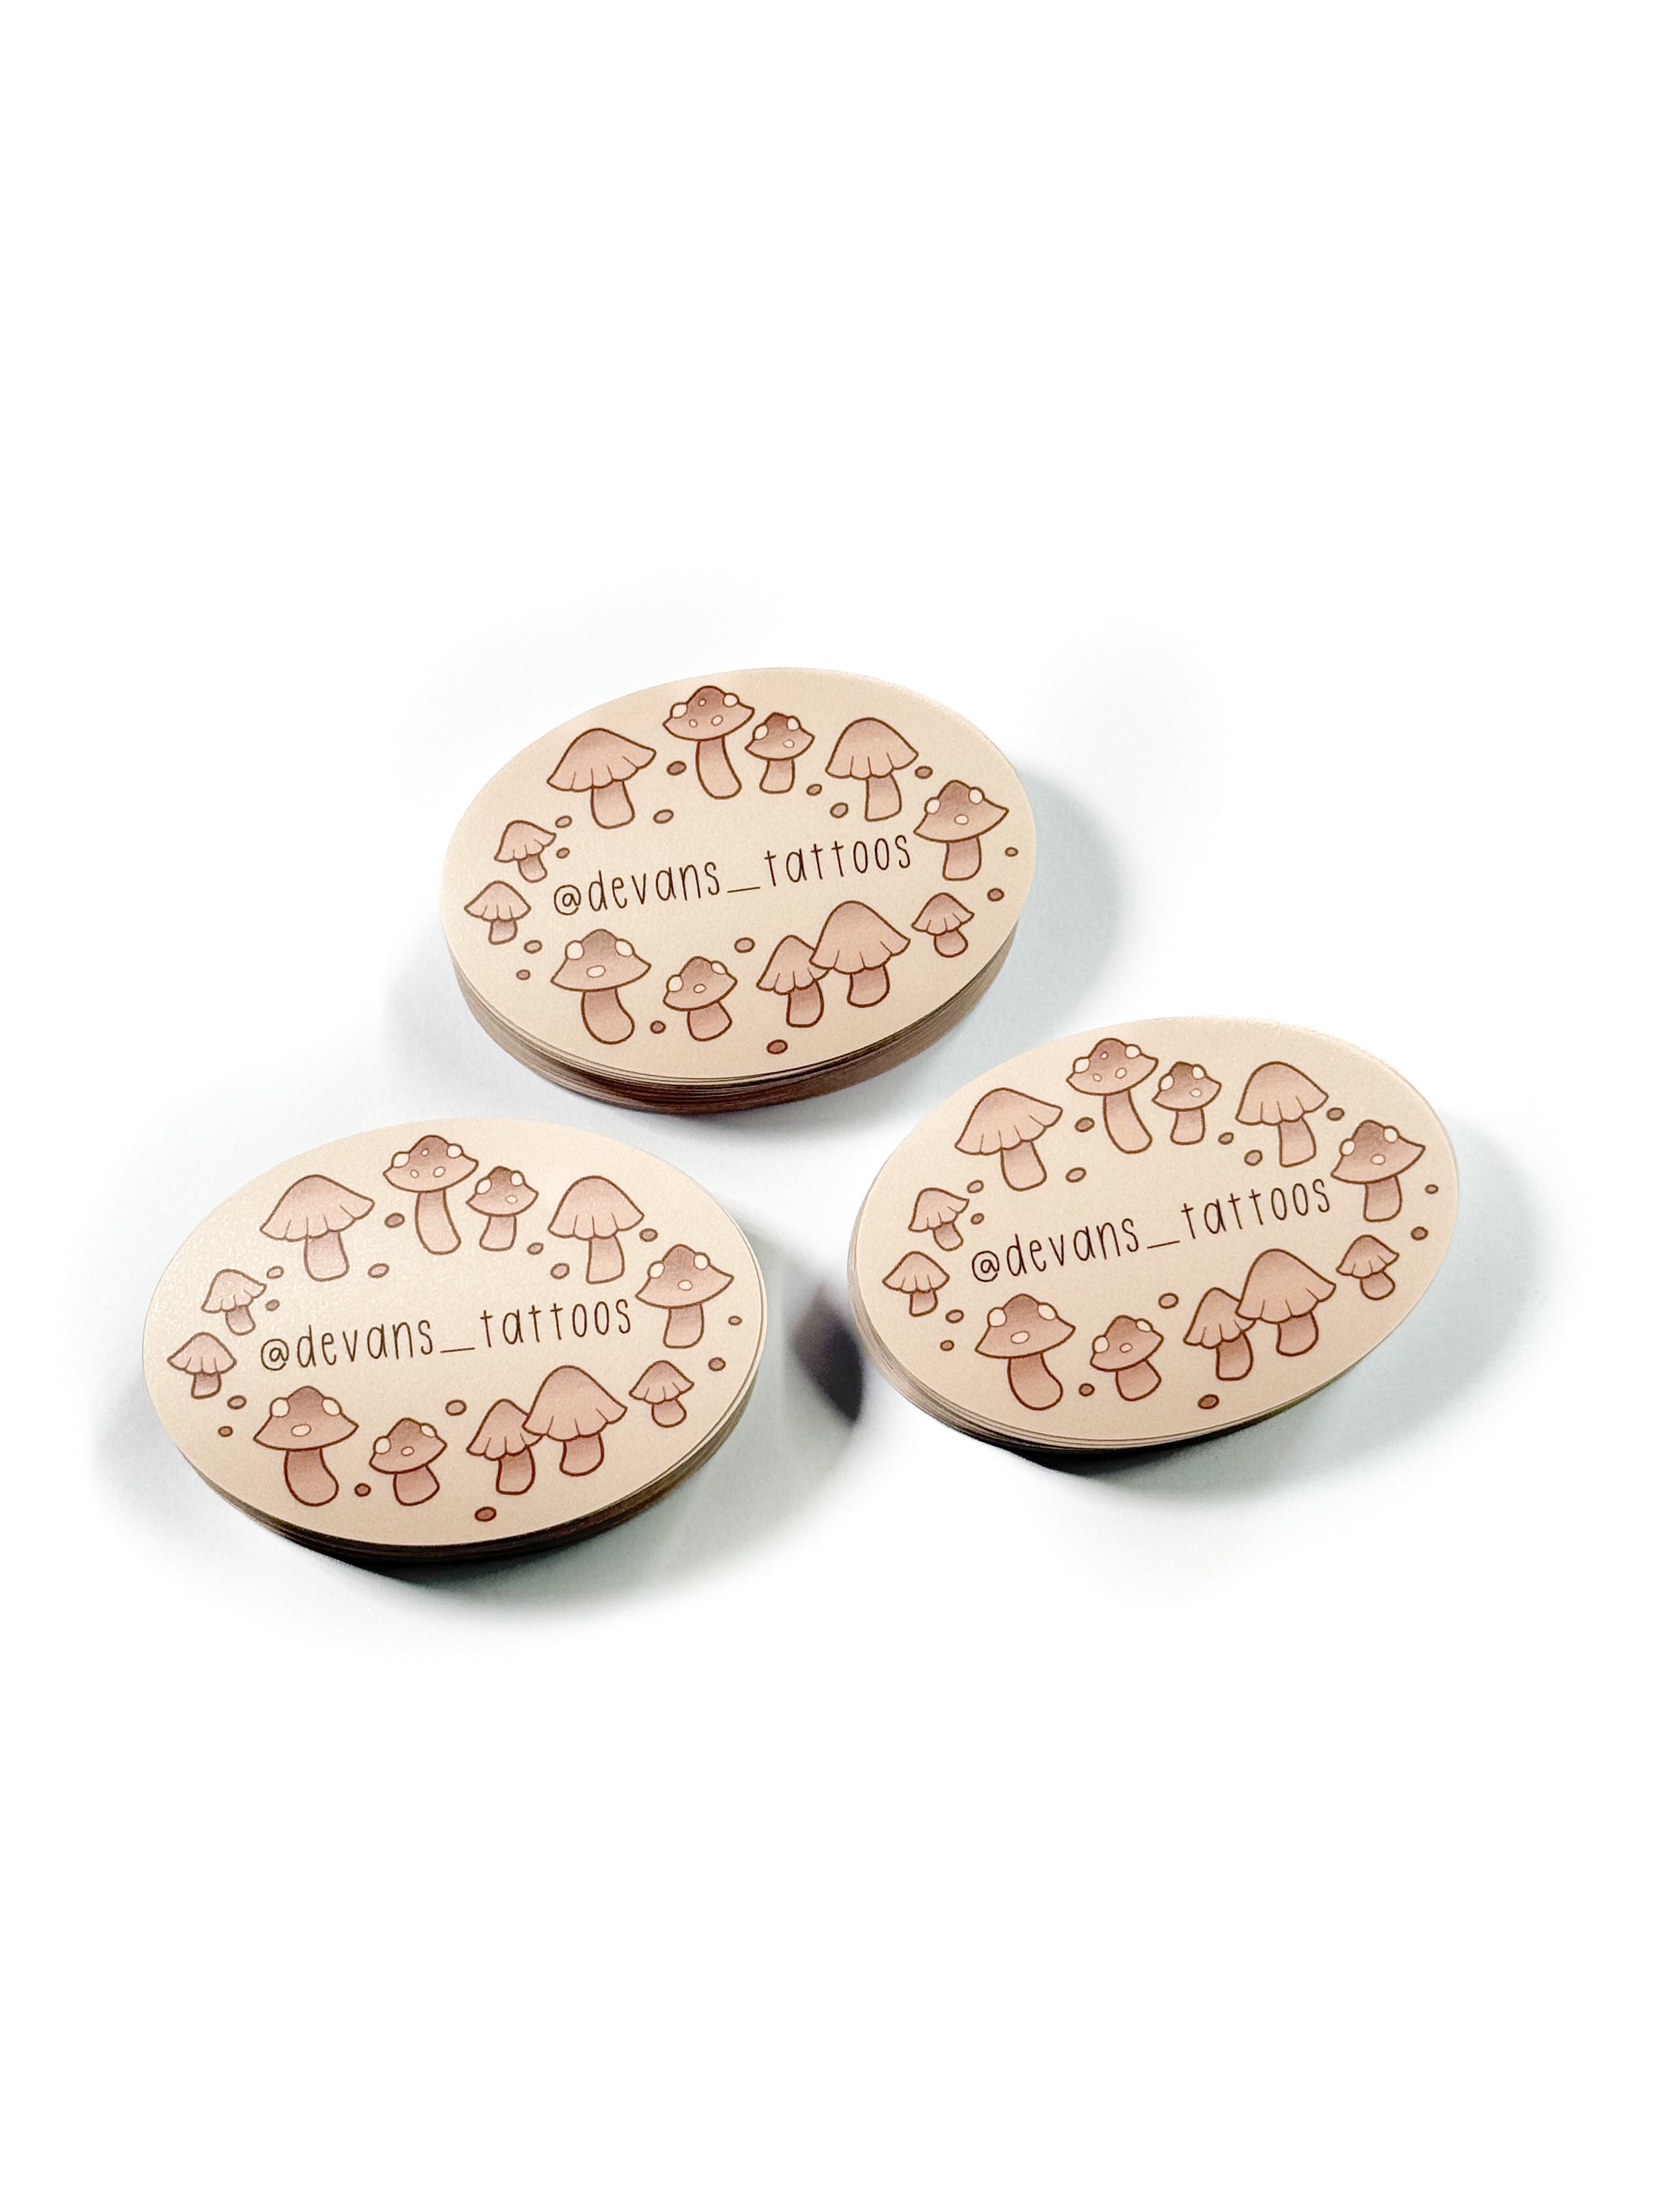
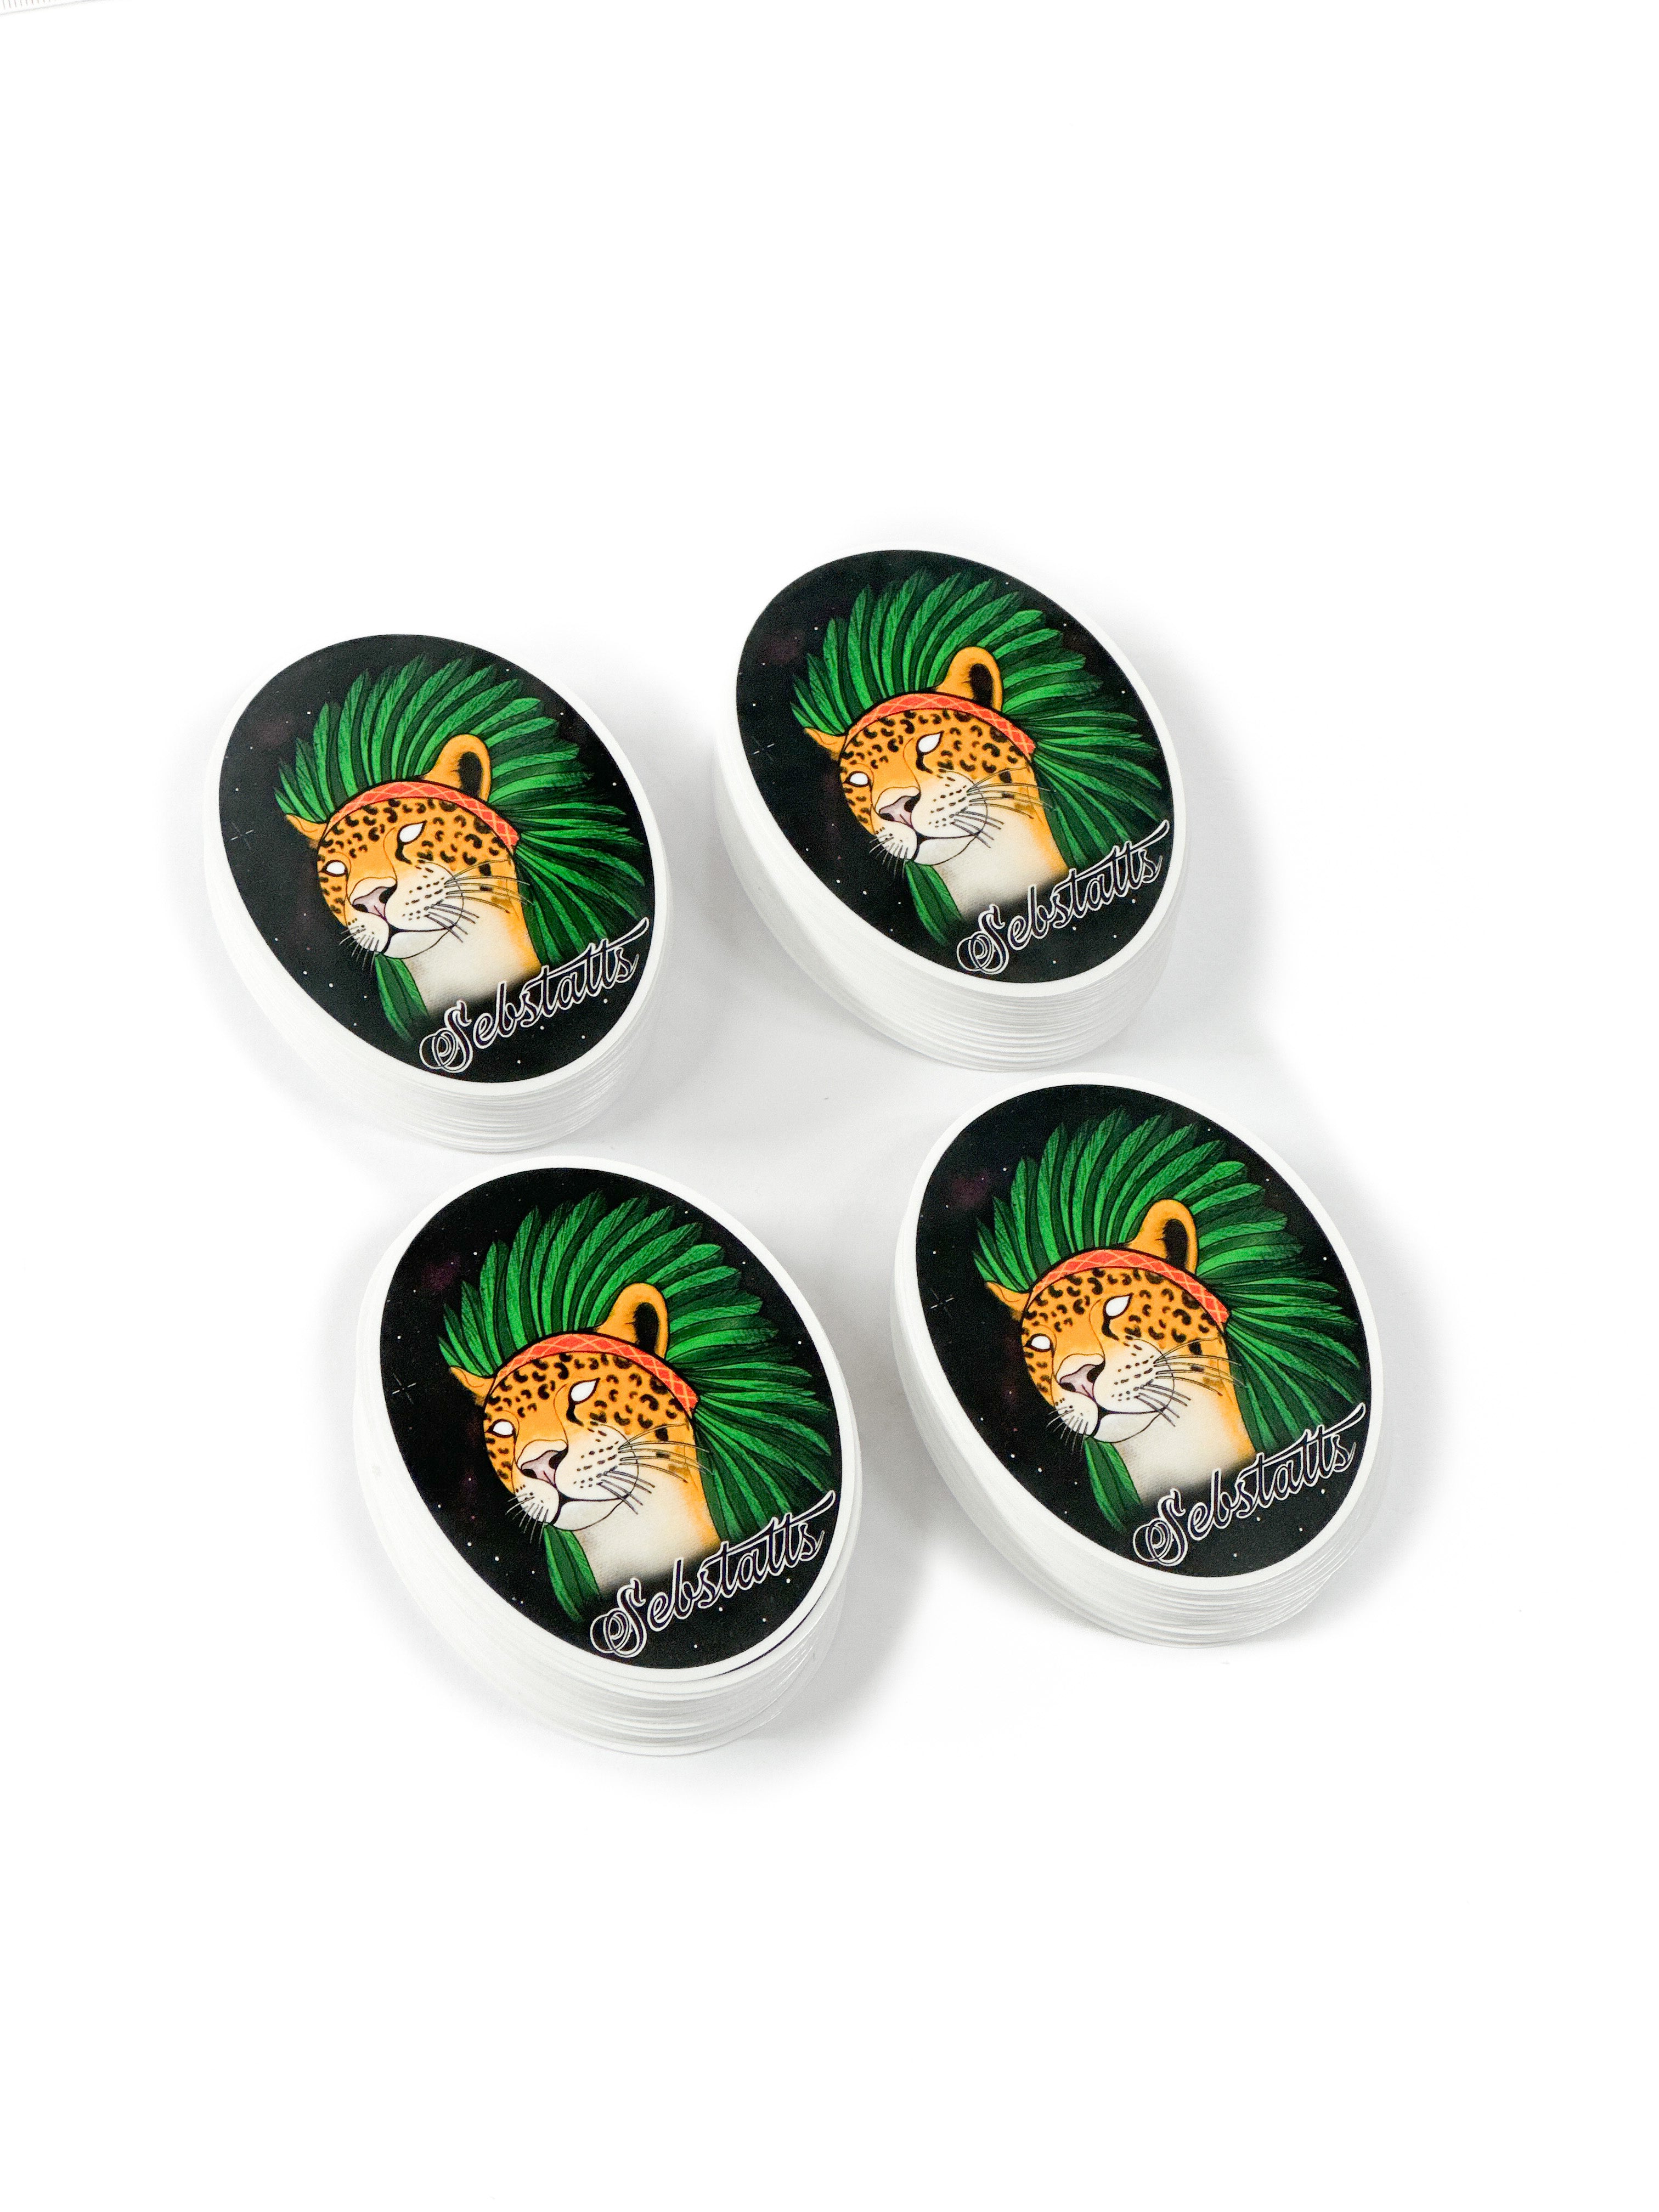
Die cut stickers are a great way to create a custom shape around your artwork. To get the best result, it helps to set up your file with print and cutting in mind.
Here are the main artwork guidelines to follow when preparing a die cut sticker design.
Understand bleed and safe area
Bleed is the extra artwork that extends beyond the cutline. If your background or artwork is meant to reach the edge of the sticker, extend it 3-4 mm beyond the cutline.
The safe area is the space inside the cutline where important details should sit. Keep text, logos, faces, borders, and other key details at least 3 mm inside the cutline.
Use a vector cutline if you supply one
If you are supplying your own cutline, place it on a separate clearly labelled layer, such as Cut Line or Cutline. The cutline should be a vector path, not a flattened image.
This makes it clear which line is for cutting and which artwork should be printed.
Use high resolution artwork
For raster artwork, use at least 300 DPI at the final print size. Low resolution images can look blurry or pixelated once printed.
Vector artwork is ideal for logos, text, and clean shapes because it can be scaled without losing sharpness.
Keep fine details practical
Very thin lines, tiny text, and very small details may not print or cut cleanly at small sizes. If the sticker is small, simplify the artwork where possible and keep important details away from the cut edge.
Check text readability
Text that looks readable on screen can become much smaller once printed. Before uploading your file, view it at the final sticker size and make sure all text is easy to read.
Quick checklist
- Use at least 300 DPI for raster artwork.
- Use CMYK where available for print colour.
- Put supplied cutlines on a separate clearly labelled layer.
- Make supplied cutlines vector paths.
- Extend artwork 3-4 mm beyond the cutline for bleed.
- Keep important details 3 mm inside the cutline.
Final proof before production
Once your order is placed, we will send a digital proof before production. This lets you check the layout, cut shape, and overall appearance before your stickers are printed.


Share:
Why we choose premium materials
Picking the Right Colors for Your Holographic Stickers